Run Kubernetes on Windows 10 using WSL 2
Intoroduction
In the previous post we learned what Windows Subsystem for Linux (WSL) is and how to use it to run Linux based containers with the help of Docker Desktop. In this post, we will go one step further, using the same setup to run a local Kubernetes cluster without the need for Virtual Machines.
Enable Kubernetes support in Docker Desktop
Kubernetes is originally designed to be deployed and used in Linux environments. The Windows Subsystem for Linux lets you run a Linux environment on Windows, without creating a virtual machine. Docker Desktop for Windows integrates with the WSL and can create a Kubernetes cluster using Docker container nodes.
- If not running, start Docker Desktop
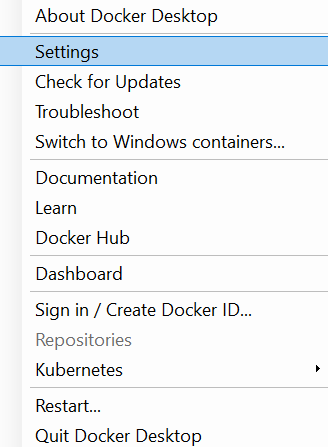
- In the Windows tray, right-click on Docker Desktop and open Settings
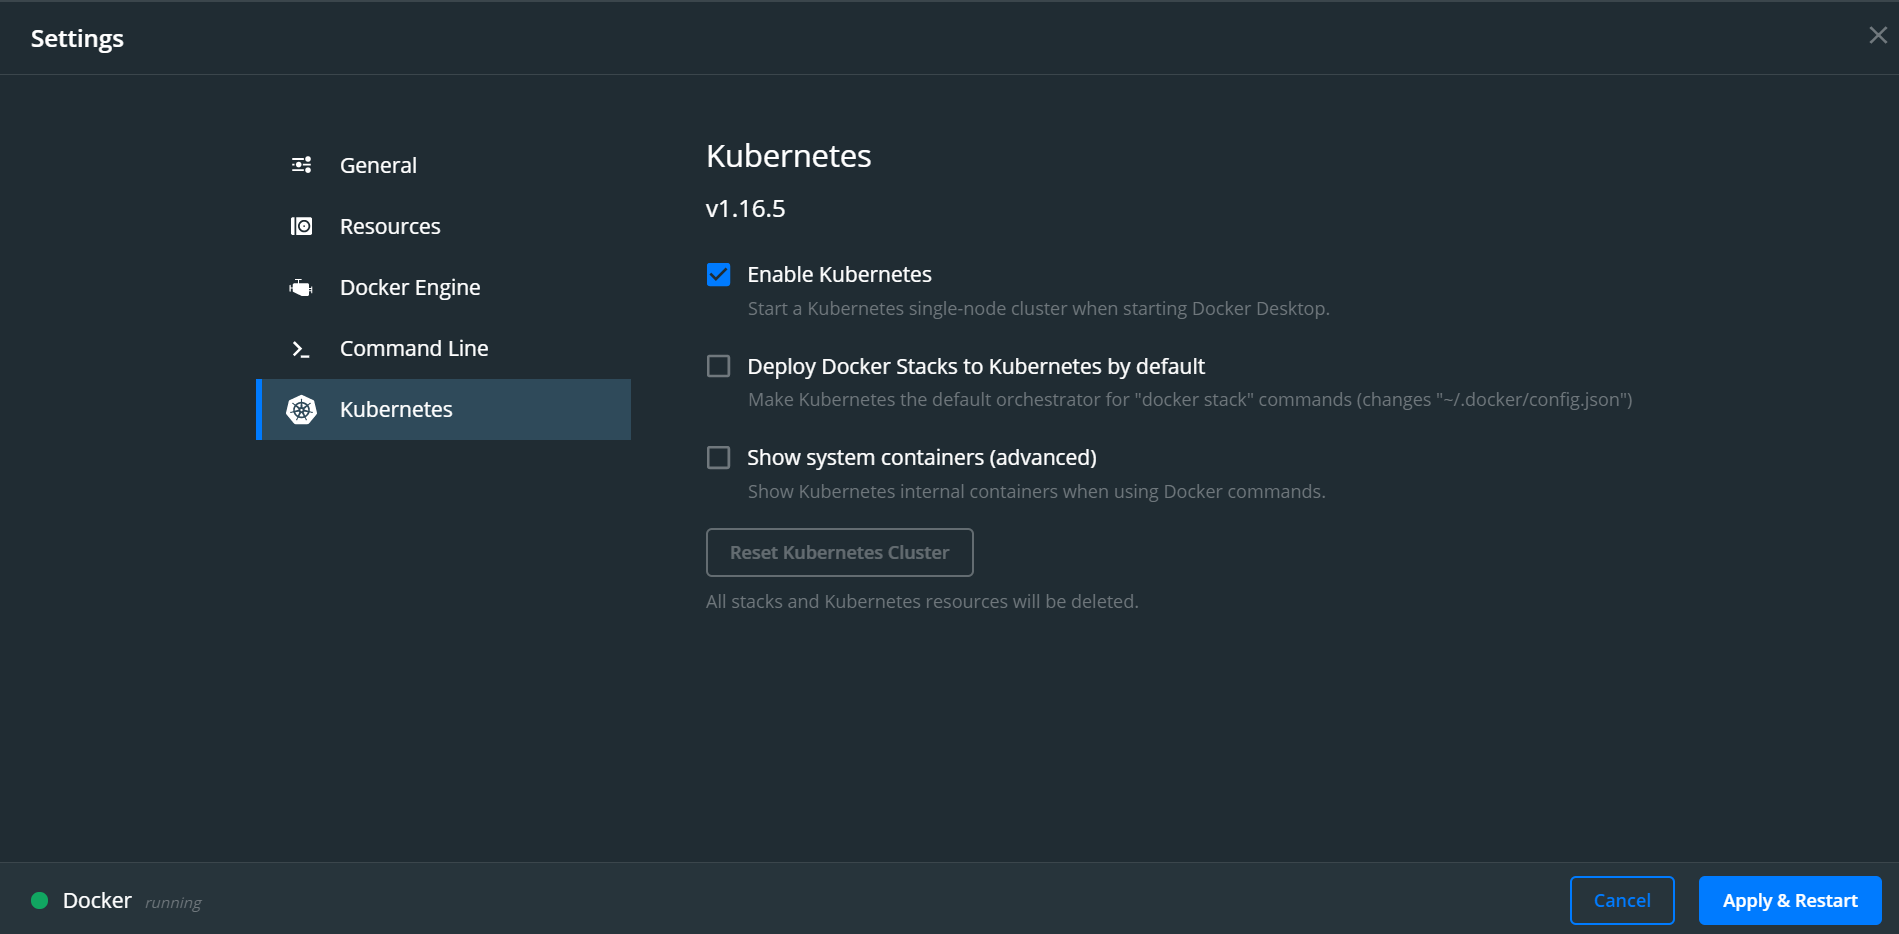
- Enable the creation of Kubernetes cluster
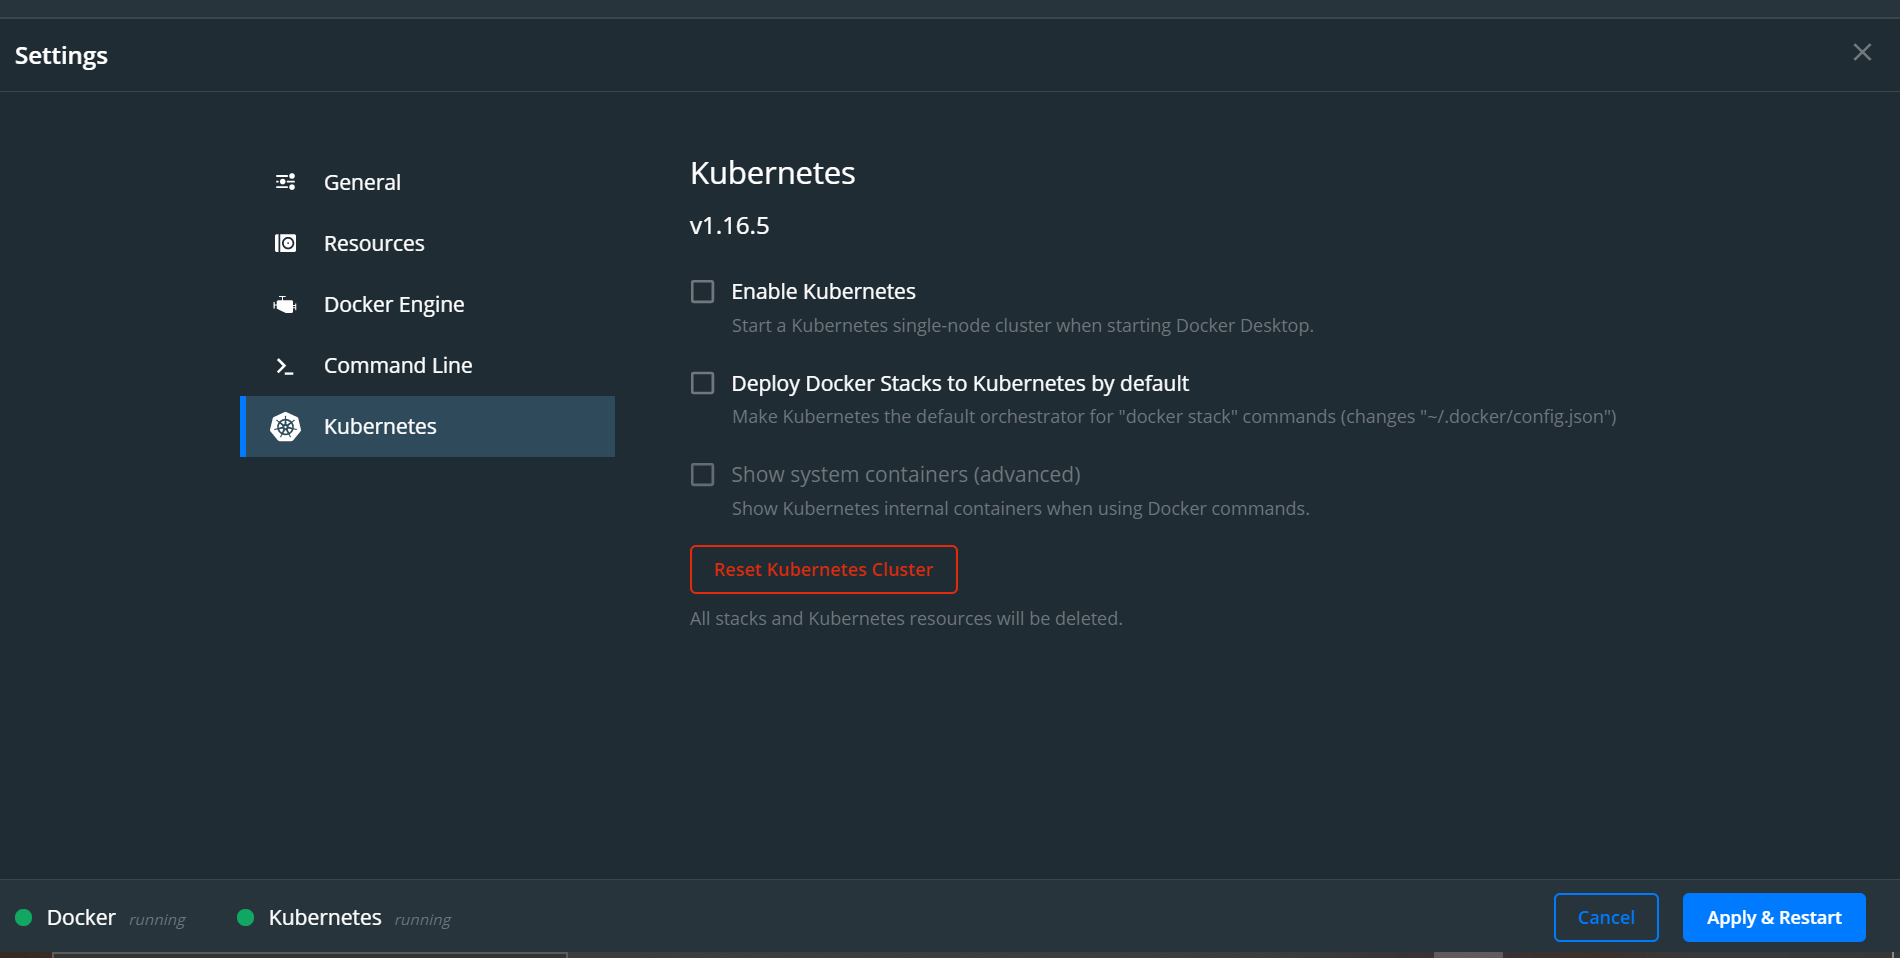
- Even if you don’t select to show system containers, if you use your WSL distribution, you can see the system containers
$ docker ps --format "table {{.Image}}\t{{.Command}}\t{{.Names}}" IMAGE COMMAND NAMES bf261d157914 "/coredns -conf /etc…" k8s_coredns_coredns-5644d7b6d9-kzk48_kube-system_0a2ca543-08f6-4366-9093-61cbceea97c1_0 bf261d157914 "/coredns -conf /etc…" k8s_coredns_coredns-5644d7b6d9-7rw8c_kube-system_a18ee460-96ed-4ea3-8411-408912adc620_0 0ee1b8a3ebe0 "/usr/local/bin/kube…" k8s_kube-proxy_kube-proxy-5pqzh_kube-system_4ead7fe1-b3ab-49a1-9637-0d746a64c98a_0 k8s.gcr.io/pause:3.1 "/pause" k8s_POD_kube-proxy-5pqzh_kube-system_4ead7fe1-b3ab-49a1-9637-0d746a64c98a_0 989749268895 "/api-server --kubec…" k8s_compose_compose-api-6ffb89dc58-nk22d_docker_2d0aaca5-8f8a-4300-a1ce-45f10a6bcd8b_1 k8s.gcr.io/pause:3.1 "/pause" k8s_POD_coredns-5644d7b6d9-kzk48_kube-system_0a2ca543-08f6-4366-9093-61cbceea97c1_0 k8s.gcr.io/pause:3.1 "/pause" k8s_POD_coredns-5644d7b6d9-7rw8c_kube-system_a18ee460-96ed-4ea3-8411-408912adc620_0 79da37e5a3aa "/kube-vpnkit-forwar…" k8s_vpnkit-controller_vpnkit-controller_kube-system_f0471235-4d25-40df-b5fb-af2700b199a8_0 129151cdf35f "/compose-controller…" k8s_compose_compose-78f95d4f8c-f4zr2_docker_78dbd170-d5ff-49a7-8641-985807969048_0 e704287ce753 "/storage-provisione…" k8s_storage-provisioner_storage-provisioner_kube-system_50576fe3-3a32-4094-a4e4-8476732bdd89_0 k8s.gcr.io/pause:3.1 "/pause" k8s_POD_compose-78f95d4f8c-f4zr2_docker_78dbd170-d5ff-49a7-8641-985807969048_0 k8s.gcr.io/pause:3.1 "/pause" k8s_POD_vpnkit-controller_kube-system_f0471235-4d25-40df-b5fb-af2700b199a8_0 k8s.gcr.io/pause:3.1 "/pause" k8s_POD_compose-api-6ffb89dc58-nk22d_docker_2d0aaca5-8f8a-4300-a1ce-45f10a6bcd8b_0 k8s.gcr.io/pause:3.1 "/pause" k8s_POD_storage-provisioner_kube-system_50576fe3-3a32-4094-a4e4-8476732bdd89_0 b2756210eeab "etcd --advertise-cl…" k8s_etcd_etcd-docker-desktop_kube-system_bc3eca0122540ccc59e959a7805e87e8_0 fc838b21afbb "kube-apiserver --ad…" k8s_kube-apiserver_kube-apiserver-docker-desktop_kube-system_2966bdea771eade42b079889c75cf17e_1 441835dd2301 "kube-controller-man…" k8s_kube-controller-manager_kube-controller-manager-docker-desktop_kube-system_9076958db0c2cc26f76def745bfc1928_0 b4d073a9efda "kube-scheduler --au…" k8s_kube-scheduler_kube-scheduler-docker-desktop_kube-system_28dd1b1230fbe15350eb1b896ae9493d_0 k8s.gcr.io/pause:3.1 "/pause" k8s_POD_kube-scheduler-docker-desktop_kube-system_28dd1b1230fbe15350eb1b896ae9493d_0 k8s.gcr.io/pause:3.1 "/pause" k8s_POD_kube-controller-manager-docker-desktop_kube-system_9076958db0c2cc26f76def745bfc1928_0 k8s.gcr.io/pause:3.1 "/pause" k8s_POD_kube-apiserver-docker-desktop_kube-system_2966bdea771eade42b079889c75cf17e_0 k8s.gcr.io/pause:3.1 "/pause" k8s_POD_etcd-docker-desktop_kube-system_bc3eca0122540ccc59e959a7805e87e8_0 -
Check the default context of the kubectl command and, if needed, set it to docker-desktop
$ kubectl config get-contexts CURRENT NAME CLUSTER AUTHINFO NAMESPACE * docker-desktop docker-desktop docker-desktop docker-for-desktop docker-desktop docker-desktop $ kubectl config set-context docker-desktop Context "docker-desktop" modified. - Get the kubernetes “nodes”
 $ kubectl get nodes
 NAME             STATUS   ROLES    AGE   VERSION
 docker-desktop   Ready    master   60m   v1.16.6-beta.0
Deploy an application into local Kubernetes
To test the local Kubernetes installation, we will deploy three instances of a demo ASP.NET Core application with a load balancer.
- Create aspnetapp.yaml deployment file
apiVersion: apps/v1 kind: Deployment metadata: name: aspnetapp spec: replicas: 3 selector: matchLabels: app: aspnetapp template: metadata: labels: app: aspnetapp spec: containers: - image: "mcr.microsoft.com/dotnet/core/samples:aspnetapp" name: aspnetapp-image ports: - containerPort: 80 protocol: TCP --- apiVersion: v1 kind: Service metadata: name: aspnetapp spec: selector: app: aspnetapp ports: - protocol: TCP port: 80 targetPort: 80 type: LoadBalancer - Apply the desired configuration on the local Kubernetes
$ kubectl apply -f aspnetapp.yaml - List the pods:
$ kubectl get pods NAME READY STATUS RESTARTS AGE aspnetapp-7bc4b67fd6-86wc6 1/1 Running 0 5s aspnetapp-7bc4b67fd6-l2zdp 1/1 Running 0 5s aspnetapp-7bc4b67fd6-nhckv 1/1 Running 0 5s - List the services:
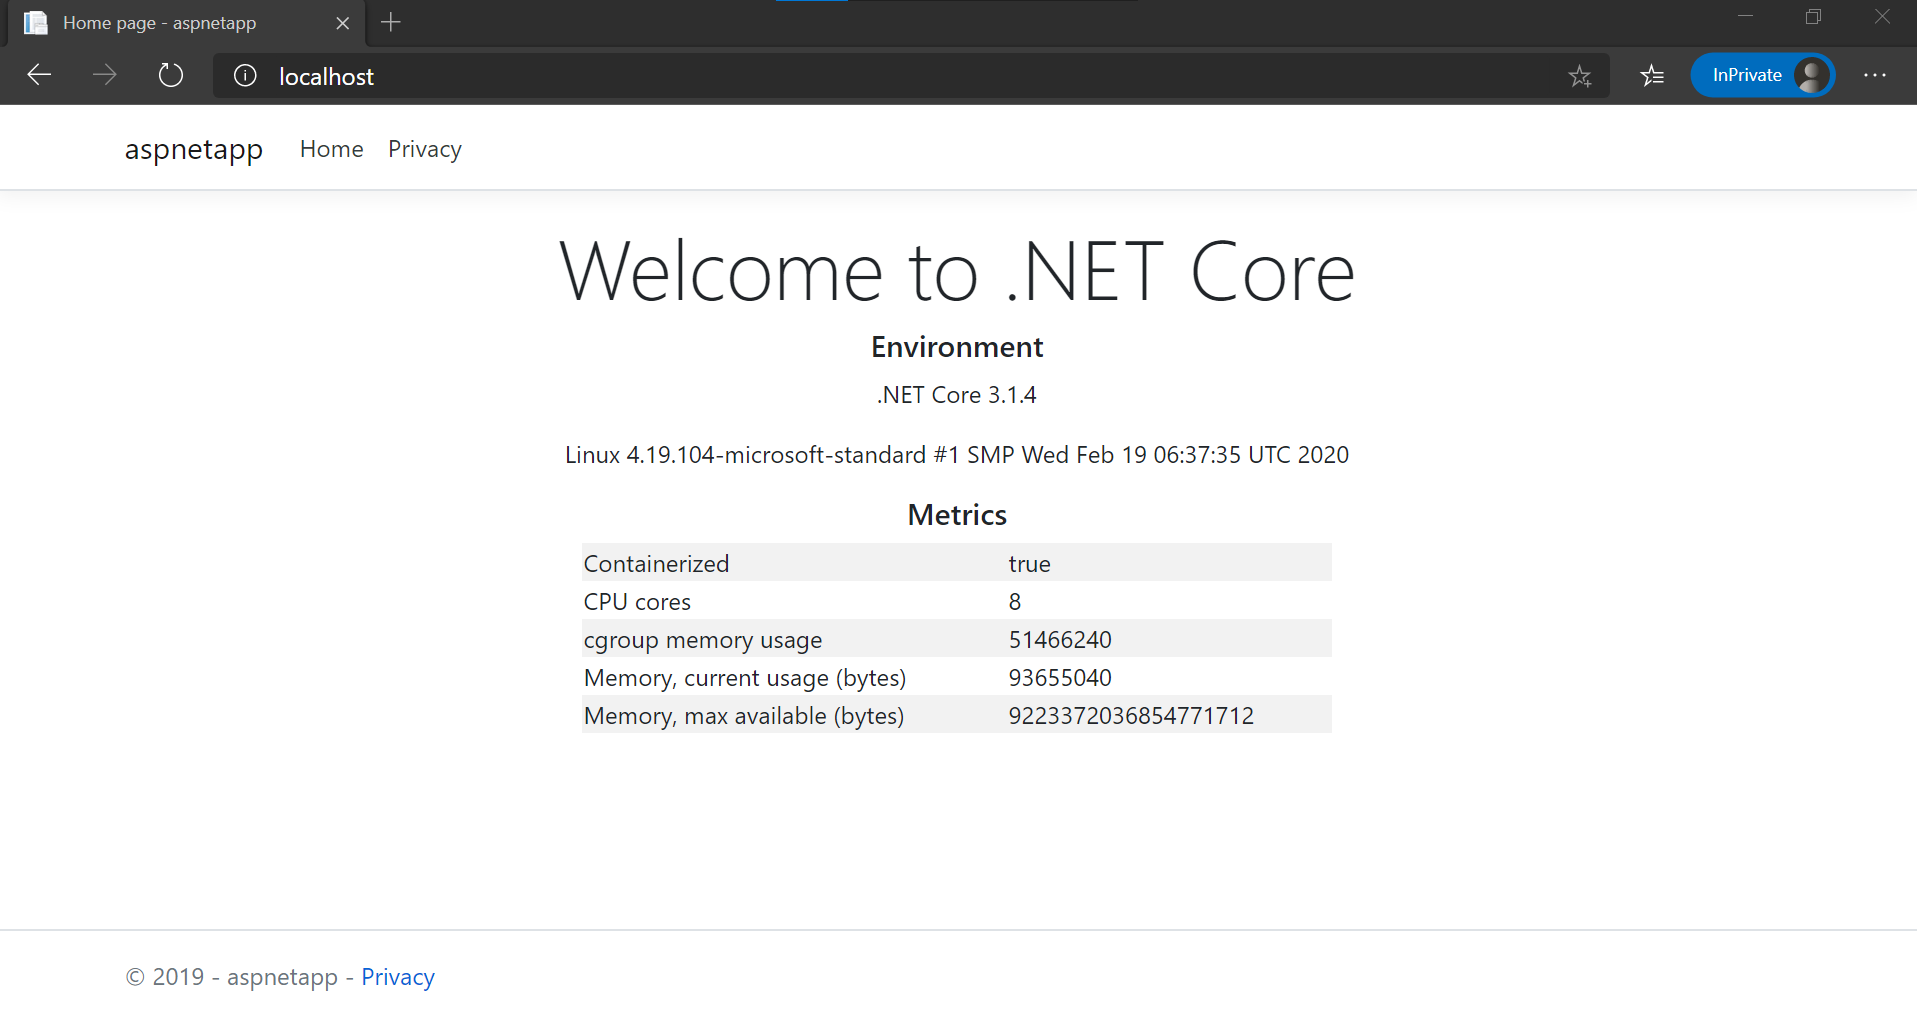
kubectl get services NAME TYPE CLUSTER-IP EXTERNAL-IP PORT(S) AGE aspnetapp LoadBalancer 10.97.55.227 localhost 80:32380/TCP 4m1s kubernetes ClusterIP 10.96.0.1 <none> 443/TCP 91m - The application is exposed to the localhost on port 80. Open your favorite web browser and test the accesability
Cleanup the resources
- Delete the deployment
$ kubectl delete -f aspnetapp.yaml - Under Docker Desktop, disable Kubernetes
